

the process
of screenprinting, Mounting and framing
I use screen printing in a majority of my works. The screen printing process, along with mounting and framing have many stages and here I explanain what they are…

creating imagery - digital or on paper
The creative process begins with an idea. After a moment—or sometimes months—of reflection, the idea takes its journey into the physical world through the use of a pencil, pen, or digital stylus.
Both techniques offer unique advantages, and I often work back and forth between them as the imagery gradually builds.
To prepare the image for printing, it must be organized into separate layers, which will later be re-combined during the screenprinting process.

preparing screens for printing
I use a photographic process with photo-sensitive emulsion to transfer my images onto the silkscreen for printing. This process involves shining UV light onto acetate sheets (known as 'positives'), which I prepare using my inkjet printer. These sheets contain the separate image layers.
The unexposed areas, unaffected by the UV light, remain unhardened and can be washed out using a jet of water. Once dried, the screen is ready for use.
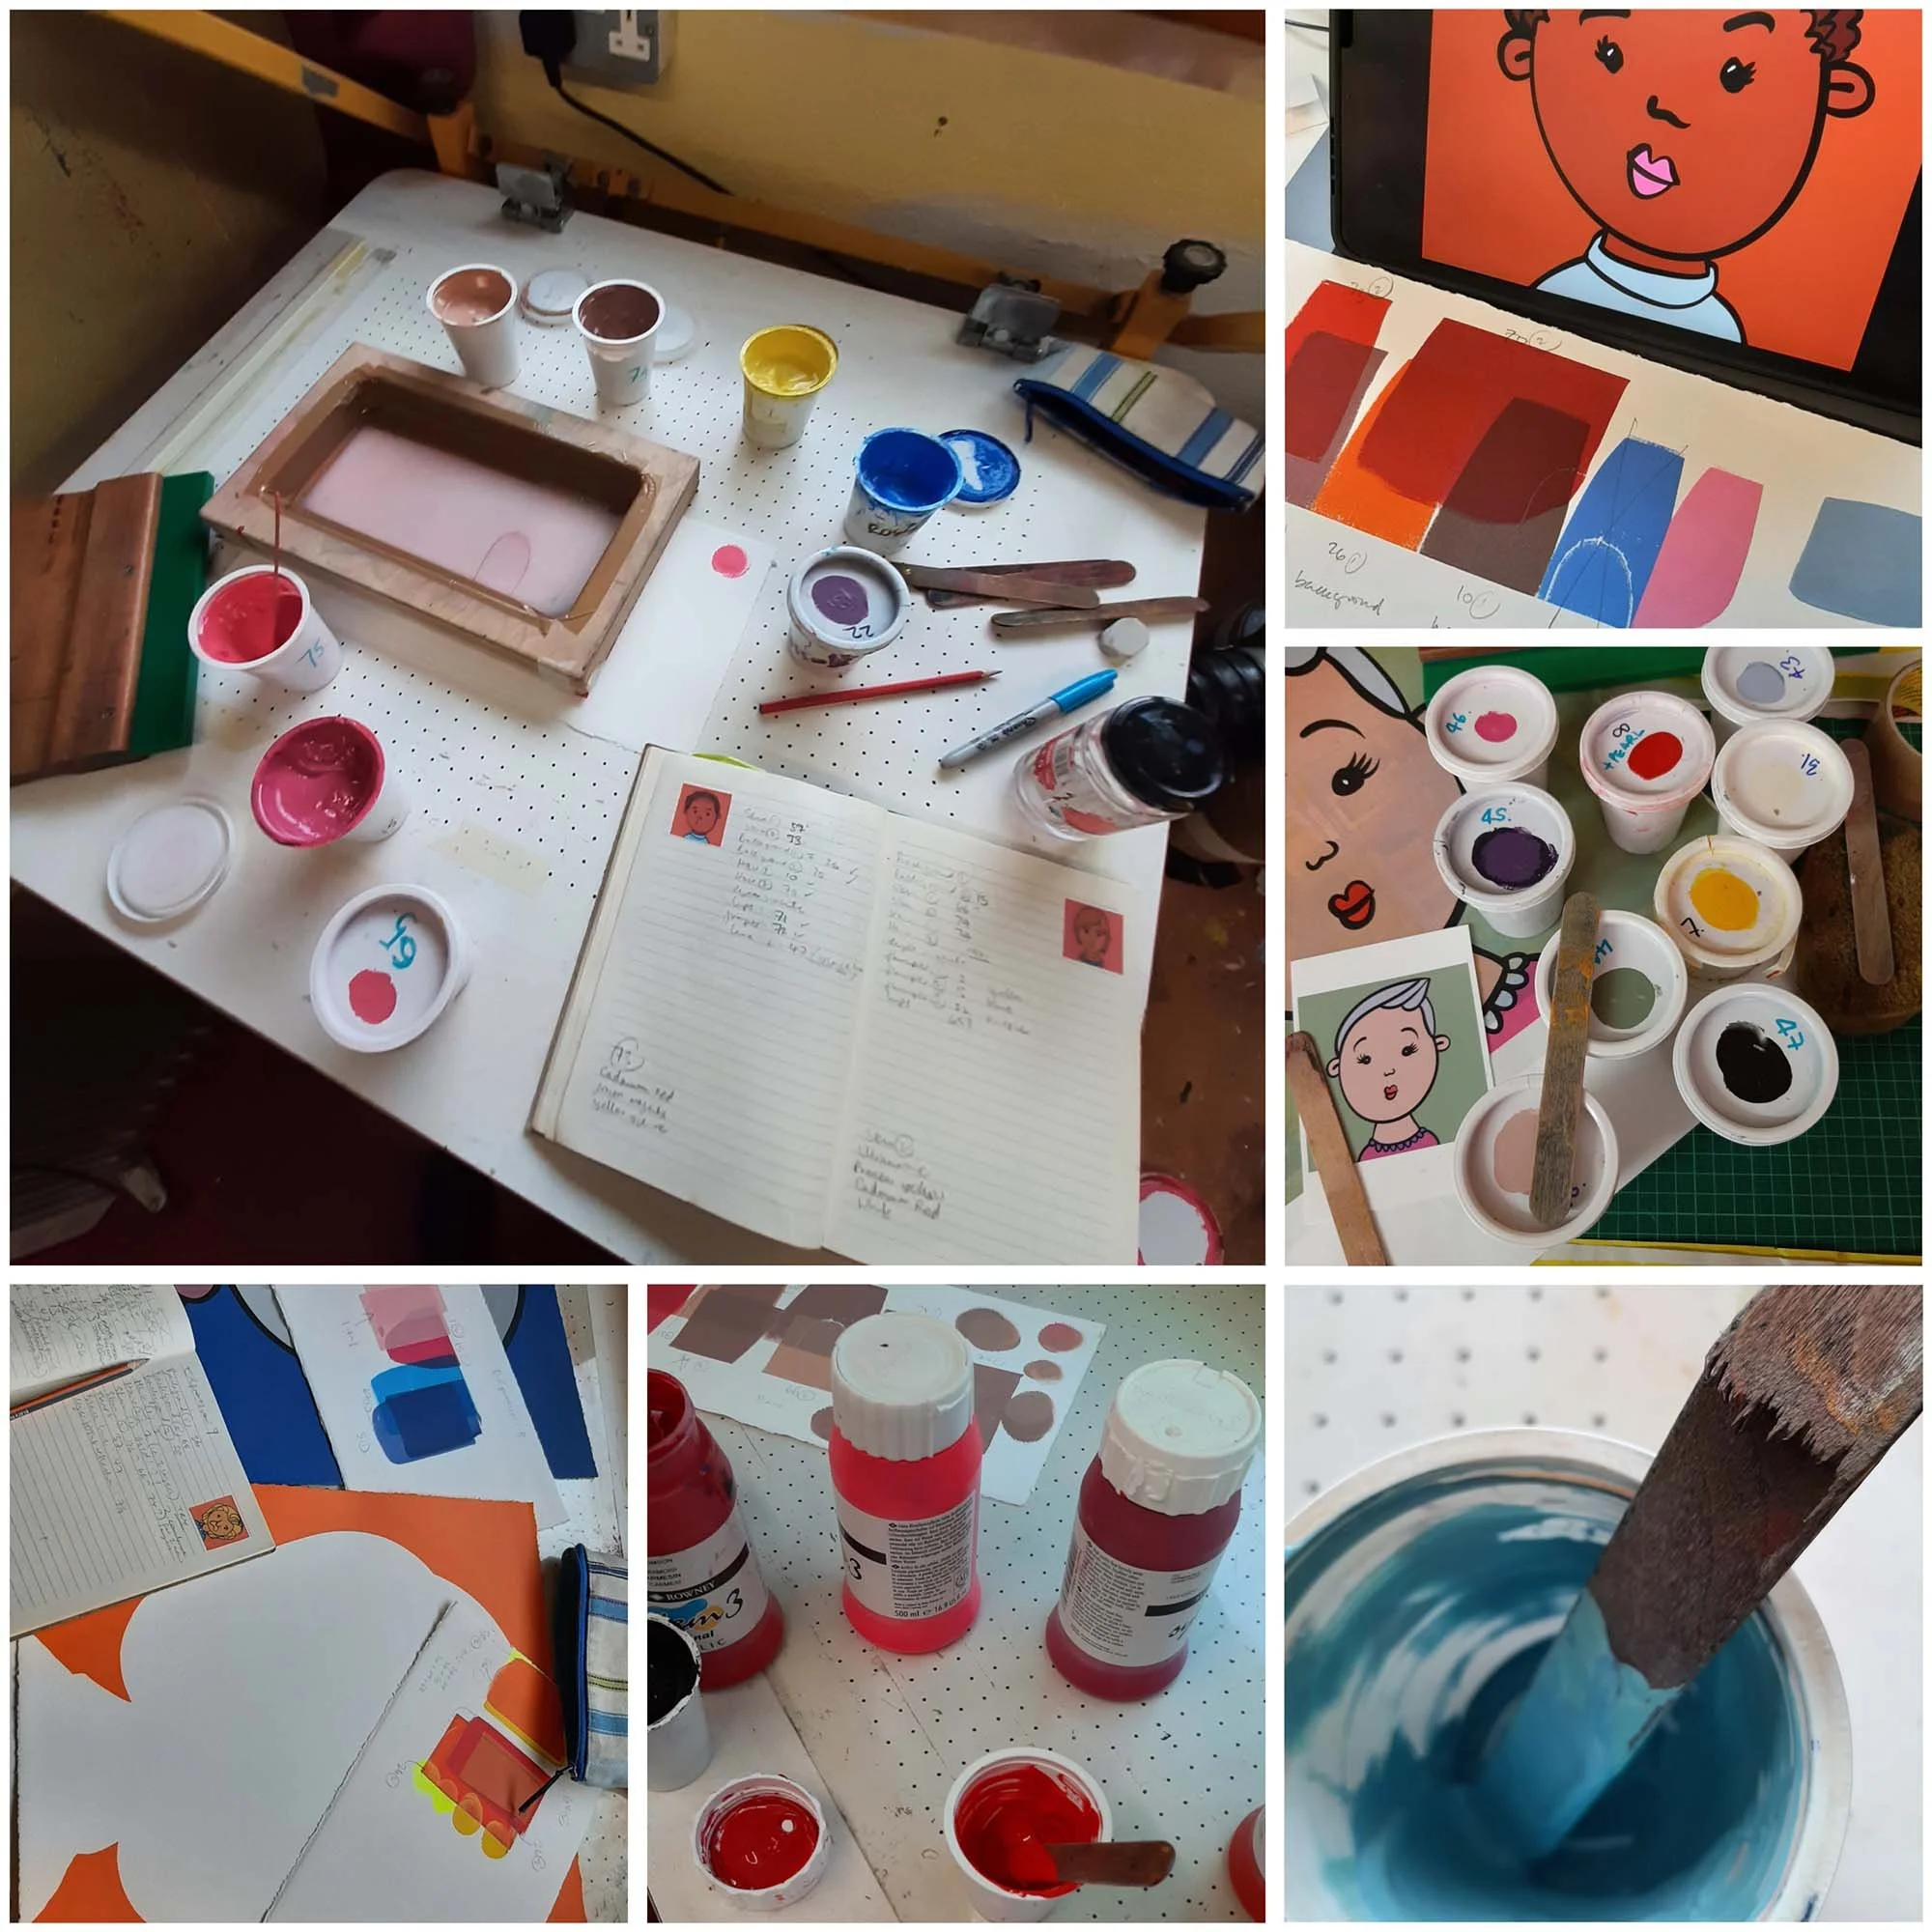
exploring, mixing and matching colours
Mixing inks is a joyous part of the process. I use water-based acrylic inks mixed with a printing medium that prevents the inks from drying on the screen.
Selecting and mixing the right colours is a vital aspect of my process. Silkscreen prints are capable of displaying incredibly vibrant hues and I often combine layered colours to build complex shades.

Preparing the paper on which to print
Most of my works are printed on Somerset Velvet 100% cotton 300gsm paper—a heavy printmaking paper that holds large amounts of ink without distorting its surface. The paper’s rich texture, unusual for screen printing, adds a unique character to my work.
This texture led me to develop a method for mounting and framing my works without glass to allow the texture to be appreciated.
The paper is torn to size. These edges, along with any mould-formed ‘deckled’ edges, further enhance the work—particularly when the ink overprints beyond the paper’s borders, producing a soft, expansive feel.

printing multiple layers and editioning
Almost all of my silkscreen prints involve multiple layers, building up complex, impactful colours. For example, the yellow background in Joy uses three different layers—mustard, canary, and luminous yellows—to achieve its vivid intensity.
The layers are aligned using a clear plastic sheet, called a registration sheet, on which each layer is printed. The work in progress is placed beneath the registration sheet for alignment. Once aligned, the sheet is removed, and that layer is printed.
I produce all my prints in small editions of up to 25 works, with the exception of some earlier characters, which had editions of up to 50. Part of the challenge lies in maintaining consistently high quality for every print in the edition—a challenge that becomes greater as the number of layers increases.

protective layer of spray lacquer
All artist-framed works receive a coating of several layers of spray lacquer. This protective layer allows the works to be dusted while providing some resistance against accidental liquid splashes.
The lacquer I use doesn’t interfere with the natural appearance of the ink or create any visible spray patterns. It leaves only a very subtle sheen, which enhances the work further.

Hand cut and painted plywood mounts
All my artist-framed works are mounted on softwood plywood. The plywood is cut to fit each individual print, filled, sanded, and painted along its borders to match the edges of the printed works.
The paper is then affixed to the prepared plywood using spray adhesives, ensuring the paper is permanently secured in place.

frame building and making ready to hang
I relish the freedom of crafting my own frames. Using tools such as a mitre cutter, guillotine trimmer, and corner-pinning device presents their own unique and enjoyable challenges.
I take pride in finishing the frames, most often using Farrow & Ball estate emulsion in Pitch Black or All White. Occasionally, I adopt a more creative approach by using acrylics, as seen in my work Hillview Floristry.
